You must add a VPN element for this configuration.
Note: This basic configuration scenario does not explain all settings related to VPN elements.
For more details about the product and how to configure features, click Help or press F1.
Steps
Select Configuration, then browse to SD-WAN.
Right-click Policy-Based VPNs in the element tree, then select New Policy-Based
VPN.
In the
Name field, enter a unique name.
From the Default VPN Profile drop-down list, select VPN-A Suite.
If you want to apply NAT rules to the communications that go through the VPN, select
Apply NAT Rules to Traffic That Uses This VPN.
This option does not affect the communications that the two VPN gateways have with each other to set up and maintain the VPN. Those connections are always matched against the NAT rules.
Click
OK.
The
VPN Editing view opens on the
Site-to-Site VPN tab.
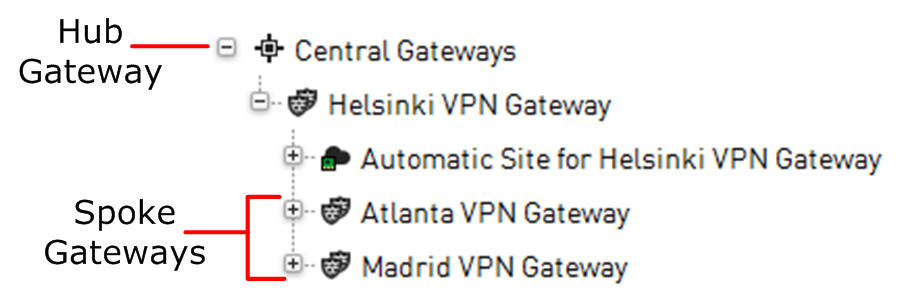
Drag and drop the firewall that acts as the hub gateway to
Central Gateways.
Figure: VPN editing view - Site-to-Site VPN tab
Drag and drop the other firewalls on top of the hub gateway so that the firewalls are added as branches (spokes) under the hub gateway.
Spoke gateways can be any other firewalls or External VPN Gateways.
Click Save, but do not close the VPN Editing view.
 Configuration, then browse to SD-WAN.
 Save, but do not close the VPN Editing view.